Homemade Mead
Mead is an ancient beverage that has endured for centuries. When this drink is mentioned, we often think of Vikings drinking their mead grog before battle to gather courage.
However, mead is not just the Vikings' favorite drink. Some also call it honey wine and make it at home. It is notably the first fermented beverage made by humans. Very easy to prepare, more and more households are starting to make their own mead.
What is Mead?
A fermented alcoholic beverage, mead is a traditional drink made from honey and water. Depending on the desired taste and outcome, yeast will need to be added. Wild yeast is most often used.
Mead can be mixed with fruits of your choice, at which point it will be called melomel. However, most people will still consider it mead. It is entirely possible to use apple cider instead of water; the resulting mixture will then be called « cyser ». If you add herbs and spices or other flavorings, the mead will be called « metheglin ».
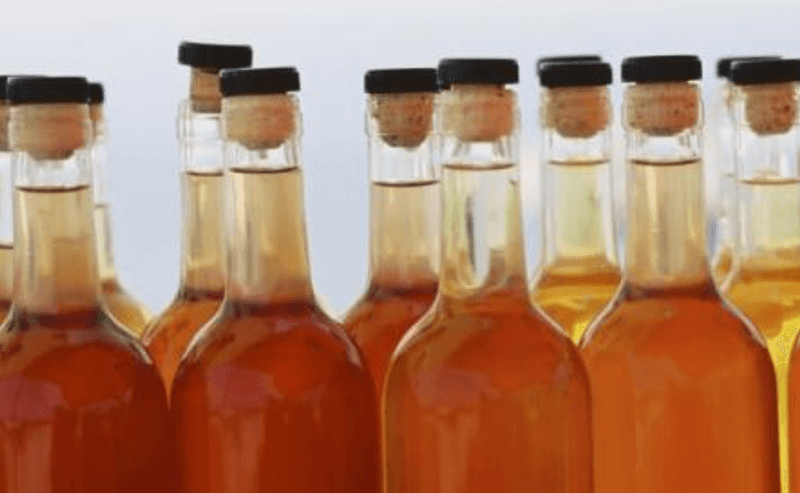
Mead Making: Recipes and Ingredients
As you might know, there isn't just one type of mead. Depending on the mixtures and ingredients, this beverage can be endlessly varied. So, if you want to know how to make this honey and water blend, it will all depend on your desires and inspirations.
A whole list of possible ingredients, recipes, and equipment exists. But, of course, beginners will always prefer something simple, classic, and effective. If there's a classic, quick, and very clear recipe for those just starting out in this fermentation process, it's certainly the medieval alcohol recipe composed of honey, water, and yeast.
To make it well at home, here is the list of things you'll need to get 4 bottles of 75cl:
• 900 grams of honey
• 3 liters of fresh water
• A few sachets of high-fermentation dry yeast
Don't forget that in mead preparation, utensils matter a lot. So, you should also plan for:
• A large pot
• A large fermentation vessel like a carboy, tank, etc.
• A stopper with an airlock
• A thermometer
Once you have everything ready, it's time to start the preparation.
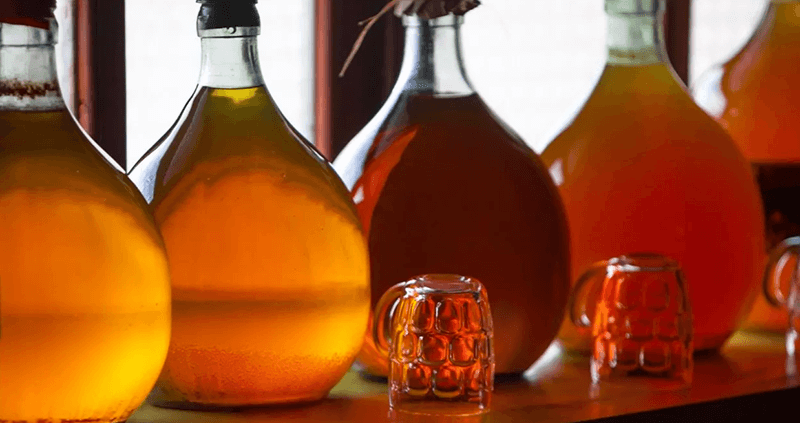
Steps for Mead Preparation
• Disinfection
The first thing to do when preparing your mead beverage is to disinfect all the utensils you will be using. More than just a matter of hygiene, the final taste of the drink risks being impacted if you skip this step.
Everything should be disinfected: the pitcher, the large pot, the spoon, the funnel... everything! Imagine if bacteria were to remain at the bottom of the fermentation vessel. And during fermentation, these bacteria would have had plenty of time to develop! It would simply be a disaster for your health and that of other drinkers.
For disinfection, there are generally two methods to eliminate microorganisms present on various kitchen materials. You can either use chemical products dedicated to disinfection or heat. The second method is much simpler, more reliable, more ecological, and more accessible to everyone! You simply need to boil water in a large pot and immerse all utensils for a few minutes, and that's it! Once done, let them drain and wipe with a clean cloth.
Some utensils already come with specific disinfection instructions; you simply need to follow them carefully!
• Warm the Water
Once everything is disinfected, prepare the water. Here, it's about warming it, not boiling it. It's very different! The water should absolutely not be scalding hot, with a temperature exceeding 80°C. A simple temperature around 40°C would be largely sufficient. The goal is for the honey to mix perfectly with the water without losing its natural virtues and aromas. And since a beehive maintains an average temperature of about 35°C, achieving an approximate water temperature could likely help.
However, besides having water at the perfect temperature, it is also very important to choose the right type of water to use. It is recommended to opt for non-chlorinated, well-filtered water. This ensures the good quality of the nectar.
• Add the Honey
With the water warmed, keep your pot over medium heat and begin to incorporate the honey. Stir gradually until the ingredient dissolves. The recommended amount of honey for 3 liters of fresh water is 900 grams. But know that depending on the desired taste of your mead, you can add more or less honey.
For a very dry mead, meaning not very sweet, just 750 to 800 grams of honey may suffice. Whereas for a slightly sweeter blend, go up to 1kg.
Beyond sweetness, the amount of honey in the water can also significantly impact the alcohol content in the final mixture after fermentation. For example, if you want your mead to reach an alcohol content of 13%, you should count approximately 300 grams of honey per liter of water.
Once you obtain a fairly frothy mixture, you can now turn off the heat. Let your mixture rest. To ensure the honey/water duo remains perfectly pure and pleasant on the palate, you can get rid of the scum, which is the white substance that forms on top of the mixture after removing it from the heat. To do this, you can simply remove it with a (always well-sterilized) strainer.
• Pour the Mixture into the Sterile Fermentation Vessel
The next step is to pour the honey/water mixture into the sterile fermentation vessel you have already prepared in advance. This can be a glass, plastic, or stainless steel container that will serve as your mead fermenter.
It can be a large container, or a medium bottle depending on what you have on hand. It is entirely possible to use several fermentation vessels to accommodate one to a few liters of beverages to ferment.
However, it is important to specify that the container you choose must be wide enough to hold your liquid. Under no circumstances should it be filled to the brim. Keep in mind that the fermentation process will produce carbon dioxide in the mixture. And if there isn't enough space in the bottle, the container could risk exploding. So, make sure to leave room for the gas to escape.
• Pitch the Yeast
Once the mixture is well incorporated into its fermentation vessel, it's time to add the yeast. At this point, you must ensure that the honey/water mixture is not too hot, otherwise, the yeast will become inactive. More precisely, you should wait for the mixture to be lukewarm, with a temperature not exceeding 32°C. To ensure this, you will be prompted to use a thermometer. This is how you will be perfectly sure before adding the yeast.
As for the amount of yeast to incorporate, there isn't really an exact measurement. But what is certain is that there's no need to pour the entire packet into the gallon. About half should suffice. The rest can be stored in a well-sealed bag in a cool place, like a refrigerator, for later use.
After the yeast is poured into the liquid, close the lid tightly, and shake the mixture vigorously for several minutes so that each ingredient incorporates together.
Now, all you have to do is set your mead aside for fermentation.
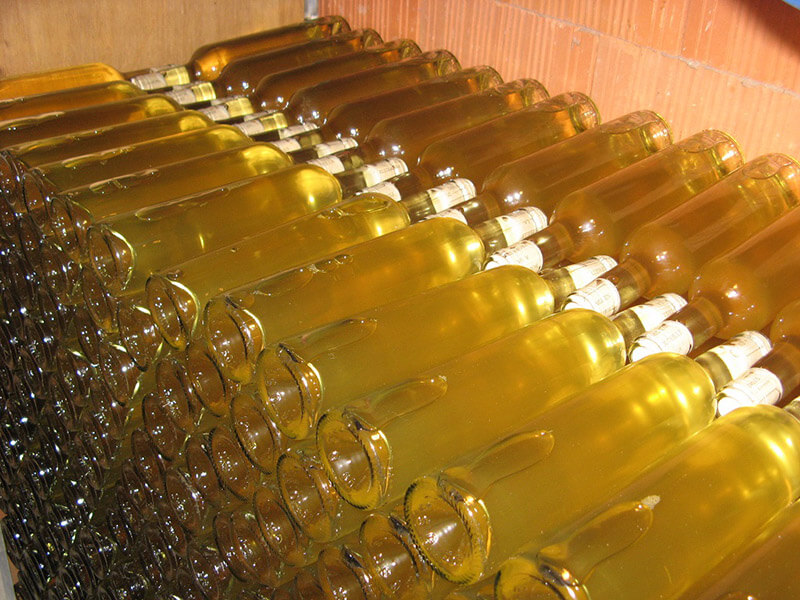
Where to Place the Mead Fermentation Vessel?
Setting the fermentation vessel aside is essential, but for the fermentation to proceed as desired and within the desired timeframe, it is necessary to place it in the right spot.
For proper fermentation, you should place the pitcher in a dark and cool place. You should really avoid cold rooms. Keep the mead well away from direct sunlight so that the fermentation process can proceed as planned.
Depending on the temperature and placement conditions, this fermentation process can take between 3 to 6 weeks. But as a safety measure, it is generally recommended not to bottle it until the 5th week.
Other Possible Ingredients for Homemade Mead
Depending on your tastes, moods, and desires, it is entirely possible to add other ingredients to your homemade mead.
This will allow you to go beyond the classic, while bringing new flavors.
For example, you can place at the bottom of the vessel:
- Berries (or other fruits of your choice)
- Orange slices (peel only or whole)
- Raisins
- ...
If you decide to make such additions, you must do so well before pouring the liquid into the fermentation vessel. Each ingredient should be placed at the very bottom of the container. Connoisseurs do not choose their fruit randomly. Raisins, for example, are added as a natural nutrient for the yeast. At the end of fermentation, you will notice that they will have no pronounced taste during your aperitif.